
Getting Started with Ansible: Infrastructure Automation for DevSecOps ⚙️
Infrastructure work has a habit of becoming invisible—until it breaks.
One server gets patched “manually just this once.” A firewall rule is tweaked during an incident. SSH settings drift between environments. A month later, nobody remembers what changed (or how to safely reproduce it).
That’s the DevSecOps problem in one sentence: manual changes create uncertainty.
When I started leaning into DevSecOps concepts, I realized most production pain isn’t caused by lack of knowledge—it’s caused by lack of consistency. And consistency is exactly what automation is good at.
Here’s the practical impact when you don’t have it:
- ⚡ Delivery slows down: rebuilds and environment parity become guesswork.
- 🔐 Security drifts: baselines (patching, SSH policy, firewall rules) aren’t enforced the same way everywhere.
- 🧯 Incidents get messy: “what’s running” differs from “what we think is running.”
This is where infrastructure automation becomes essential—and for me, the tool that made it “click” was Ansible.
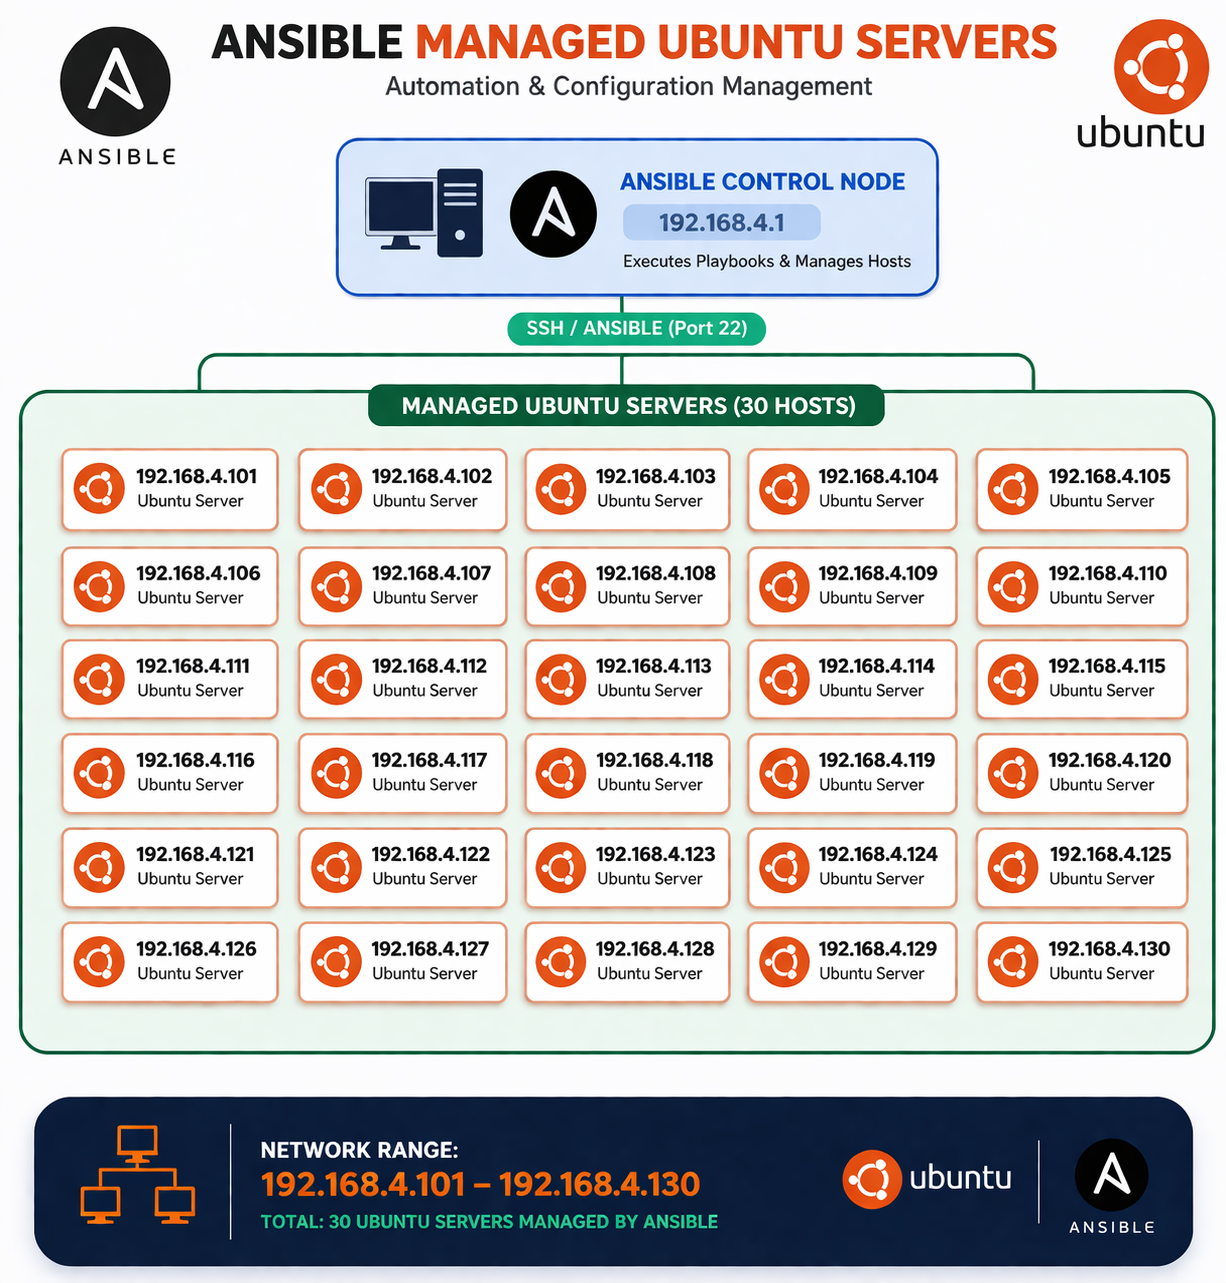
🗺️ Ansible in one picture (mental model)
If you want the 10-second mental model before we go deeper:
🧠 My Learning Journey with Ansible
When I first started learning Ansible, I didn’t fully understand why it was needed. I already knew my way around Linux servers and basic cloud setups, and my workflow was basically:
- SSH into a server
- Install packages manually
- Copy config files
- Fix things when they break
It worked… until it didn’t.
The turning point was when I had to replicate the same setup across multiple servers. I realized I wasn’t managing infrastructure—I was repeating myself with slightly different results each time.
That’s when Ansible started making sense.
Instead of thinking in terms of “steps I perform on a server,” I started thinking in terms of:
“What state should this system be in?”
That shift is the core of the Ansible mindset—and it maps really well to DevSecOps: define a baseline, store it in Git, review it like code, and apply it consistently.
🧩 What is Ansible (and why do people use it)?
Ansible is an open-source automation tool that helps you configure systems and deploy software using simple, human-readable YAML.
Engineers like it because it’s:
- 🛰️ Agentless: on Linux it usually uses SSH (no extra daemon required on the target).
- 🔁 Idempotent by design: most tasks aim for a desired state, so repeated runs converge instead of “re-doing” everything.
- 🛠️ Great for configuration: packages, files, users, services, and OS hardening.
- 🧪 DevSecOps-friendly: playbooks live in Git, changes go through PR review, and automation can run in CI/CD.
If Terraform is often used to provision infrastructure (VMs, networks, cloud resources), Ansible is commonly used to configure it (packages, services, OS hardening, app deployment). Many teams use both.
🧠 The mental model: inventory → playbook → tasks → modules
If you’re brand new, here’s the simplest way to think about Ansible:
- Inventory: Which machines are we managing?
- Playbook: What do we want to do to them?
- Tasks: Step-by-step actions inside the playbook.
- Modules: The building blocks tasks call to do real work.
Let’s break those down.
Key concepts (beginner-friendly, but production-real) ✅
1) Inventory
An inventory is a list of hosts Ansible can connect to, often grouped by environment.
A common beginner format is INI-style:
# inventory.ini
[web]
192.0.2.10
192.0.2.11

[web:vars]
ansible_user=ubuntu
You can also use YAML inventory (popular once you need more structure):
# inventory.yml
all:
  children:
    web:
      hosts:
        web-1:
          ansible_host: 192.0.2.10
        web-2:
          ansible_host: 192.0.2.11
      vars:
        ansible_user: ubuntu
Tip: Start simple. You can add per-host variables later (like ansible_port, ansible_ssh_private_key_file, etc.).
2) Playbooks
A playbook is a YAML file describing one or more “plays.” Each play targets a set of hosts and runs a list of tasks.
A minimal playbook looks like this:
---
- name: My first play
  hosts: web
  become: true

  tasks:
    - name: Ensure NGINX is installed
      ansible.builtin.apt:
        name: nginx
        state: present
        update_cache: true
A few things to notice (the pieces you’ll keep seeing):
hosts: webrefers to the group in your inventory.become: truemeans “run with sudo” (needed for system-level changes).- Tasks are listed under
tasks:and run top-to-bottom.
3) Modules
Modules are what tasks use to do work. Think of a module as a “small, focused automation function.”
Examples you’ll use constantly:
ansible.builtin.apt/ansible.builtin.dnf: install packagesansible.builtin.service: start/stop/enable servicesansible.builtin.user: manage users and groupsansible.builtin.copy/ansible.builtin.template: put files on serversansible.builtin.lineinfile: edit config files safely
4) Tasks
A task is one module invocation with parameters.
A few simple tasks:
- name: Ensure a user exists
  ansible.builtin.user:
    name: deploy
    groups: sudo
    append: true

- name: Ensure SSH is running
  ansible.builtin.service:
    name: ssh
    state: started
    enabled: true
Running Ansible (the practical basics)
Once Ansible is installed on your machine, you typically run playbooks like this:
ansible-playbook -i inventory.ini playbook.yml
Useful flags when you’re learning (and honestly, in prod too):
--check: dry-run (preview changes without applying them)--diff: show differences for file changes--limit web-1: target a subset of hosts-v/-vvv: more logging when debugging
And a quick connectivity test (often the first command people try):
ansible all -i inventory.ini -m ping
That ping is an Ansible module test (not ICMP). If it succeeds, SSH + Python on the target are usually good.
🧪 A small, readable playbook example (install and start NGINX)
Here’s a slightly more complete example that:
- Updates the APT cache
- Installs NGINX
- Ensures it’s started and enabled
---
- name: Provision web servers
  hosts: web
  become: true

  tasks:
    - name: Update APT cache
      ansible.builtin.apt:
        update_cache: true
        cache_valid_time: 3600

    - name: Install NGINX
      ansible.builtin.apt:
        name: nginx
        state: present

    - name: Ensure NGINX is running
      ansible.builtin.service:
        name: nginx
        state: started
        enabled: true
If you run it twice, the second run should be mostly “ok” (no changes). In DevSecOps terms: your baseline converges and stays stable.
🔐 Real-world DevSecOps use case: baseline Ubuntu server hardening
A very common DevSecOps task is applying a consistent security baseline across servers:
- Keep packages updated
- Enforce safe SSH policy
- Enable a firewall with least privilege
- Add basic protections like Fail2ban
Below is an intentionally small and understandable baseline you can adapt. It’s not a full CIS benchmark, but it’s the kind of automation that immediately reduces drift.
Before you run this (important ⚠️)
Changing SSH settings can lock you out if you’re not careful. A safe workflow is:
- Ensure you can authenticate with SSH keys first
- Use
--check --diffon a single test host (--limit) before rolling out - Keep an existing session open while applying SSH changes
Example: security-baseline.yml
---
- name: Security baseline for Ubuntu servers
  hosts: web
  become: true

  vars:
    ssh_port: 22
    allowed_ssh_cidrs:
      - "203.0.113.0/24"  # Example only: replace with your office/VPN CIDRs

  handlers:
    - name: Restart SSH
      ansible.builtin.service:
        name: ssh
        state: restarted

  tasks:
    - name: Update APT cache
      ansible.builtin.apt:
        update_cache: true
        cache_valid_time: 3600

    - name: Install baseline packages
      ansible.builtin.apt:
        name:
          - ufw
          - fail2ban
        state: present

    - name: Ensure Fail2ban is enabled and running
      ansible.builtin.service:
        name: fail2ban
        state: started
        enabled: true

    - name: Deny incoming by default (UFW)
      community.general.ufw:
        default: deny
        direction: incoming

    - name: Allow outgoing by default (UFW)
      community.general.ufw:
        default: allow
        direction: outgoing

    - name: Allow SSH from approved CIDRs
      community.general.ufw:
        rule: allow
        port: "{{ ssh_port }}"
        proto: tcp
        from_ip: "{{ item }}"
      loop: "{{ allowed_ssh_cidrs }}"

    - name: Enable UFW
      community.general.ufw:
        state: enabled

    - name: Disable root SSH login
      ansible.builtin.lineinfile:
        path: /etc/ssh/sshd_config
        regexp: '^#?PermitRootLogin'
        line: 'PermitRootLogin no'
        validate: 'sshd -t -f %s'
      notify: Restart SSH

    - name: Disable password authentication (key-based SSH only)
      ansible.builtin.lineinfile:
        path: /etc/ssh/sshd_config
        regexp: '^#?PasswordAuthentication'
        line: 'PasswordAuthentication no'
        validate: 'sshd -t -f %s'
      notify: Restart SSH
A note about the community.general.ufw module
This playbook uses community.general.ufw because it’s readable and purpose-built. On a fresh Ansible install you may need the collection:
ansible-galaxy collection install community.general
If you want to stick to only built-in modules, you can manage firewall rules through other means (or use OS-specific tooling), but this is a practical balance for a first baseline.
How you might run it safely
# Dry-run on one host first
ansible-playbook -i inventory.ini security-baseline.yml --check --diff --limit 192.0.2.10

# Then apply for real
ansible-playbook -i inventory.ini security-baseline.yml --diff
🚦 How this fits DevSecOps (in a practical workflow)
Ansible becomes DevSecOps-friendly when you treat it like application code (because it is operational code):
- Put playbooks in Git
- Review changes through PRs
- Run playbooks in a controlled pipeline (or through approved runbooks)
- Keep environment differences as variables instead of copy-pasting playbooks
In practice, this reduces drift because it turns “tribal knowledge” into a diff:
- ✅ Your “golden configuration” is visible and reviewable in Git
- ✅ You can run
--check --diffin CI to preview what will change - ✅ Rollouts are repeatable: same playbook + same inventory group = same baseline
If you want a simple CI-shaped approach:
- On PR: run
ansible-playbook --check --diffagainst a test inventory - On merge: run the real playbook via an approved pipeline/runbook
- On incidents: re-apply the baseline instead of “hand fixing” servers
A simple approach is:
inventory/per environment (dev/stage/prod)- Playbooks that encode shared baselines
- Variables for differences (CIDRs, ports, package versions)
✅ Conclusion
If you want infrastructure that scales safely, you need changes that are repeatable, reviewable, and consistent.
The biggest insight I took away is this:
Automation isn’t about speed—it’s about eliminating uncertainty. ✅
Ansible gives you a practical path there: start with one inventory, one playbook, and a baseline you can apply to every server the same way. Over time, you’ll get fewer surprises during incidents and fewer gaps between what’s intended and what’s actually running.
📚 What to learn next
When you’re comfortable with the basics above, these topics unlock the “real power” of Ansible:
- Roles: reusable, structured automation (the clean way to scale playbooks)
- Variables and templating (Jinja2): environment-specific configuration without duplication
- Ansible Vault: encrypt secrets (and avoid committing plaintext credentials)
- Collections: curated module sets like
community.general - Testing and quality:
ansible-lint, Molecule, and running playbooks in CI